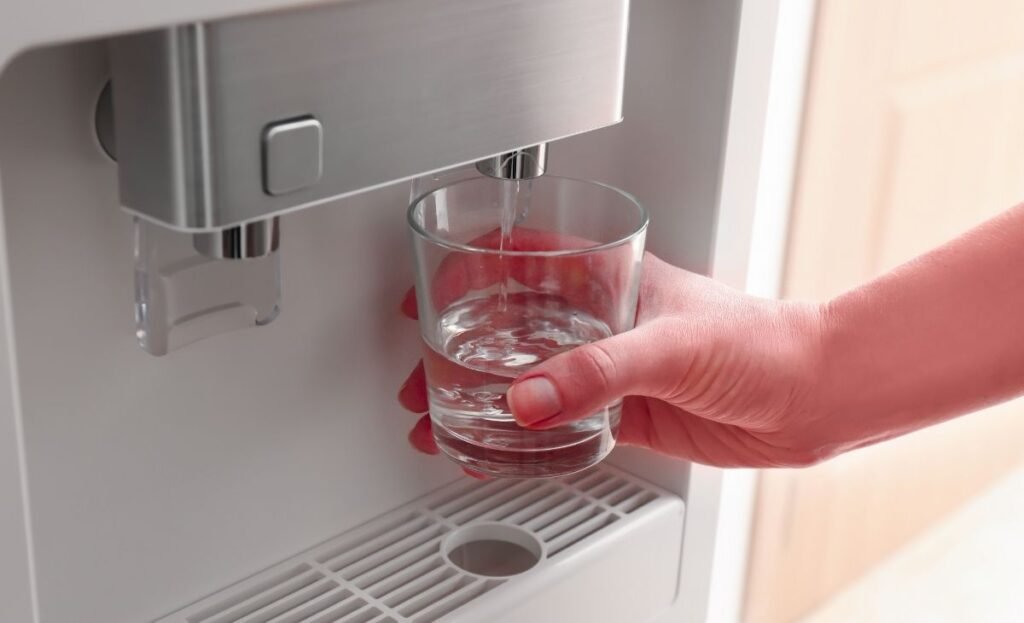
There’s nothing quite like a glass of crisp, chilled water straight from your refrigerator. It’s a small convenience that makes a big difference. So when you press the lever and get nothing but a disappointing hum or worse, silence it can be incredibly frustrating.
At Perfect Appliance Repair, we know how much you rely on your appliances. Before you rush to book a repair, there are several common issues you might be able to solve yourself in just a few minutes.
This ultimate guide will walk you through a step-by-step diagnostic process, from the simplest oversights to more complex mechanical faults. We’ll help you identify the problem, perform safe DIY fixes, and understand when it’s time to call in the professionals. This guide covers issues for all major brands found in Australian homes, including Samsung, LG, Westinghouse, Fisher & Paykel, and more.
The 60-Second Sanity Check
Before you pull your fridge away from the wall, let’s rule out the most common and easily solved culprits.
1. Is the Child Lock On?
It may sound simple, but the dispenser’s control lock is the number one reason for a sudden stoppage. Look for a button on your control panel with a padlock symbol. It often requires holding it down for three to five seconds to deactivate. Check your user manual if you’re unsure.
2. Is the Fridge Door Fully Closed?
For safety, refrigerators are designed to disable the water and ice dispenser when a door is open. A bottle in the door, a stray vegetable in a crisper drawer, or an uneven shelf can prevent the door from closing properly and activating the door switch. Press the switch manually (usually located along the top or side of the door frame) to see if the interior light turns off. If it doesn’t, something is obstructing your door.
3. When Did You Last Change the Water Filter?
A clogged water filter is the most common mechanical fault. Over time, it becomes saturated with contaminants and minerals, slowing water flow to a trickle and eventually stopping it completely as a safety measure to protect the system. If it has been more than six months, it’s time for a change.
Step-by-Step Troubleshooting
If the quick checks didn’t work, it’s time for a more thorough investigation. Always unplug your refrigerator from the power source before proceeding with these steps.
Step 1: Inspect the Water Supply Line
The water supply line is the thin tube that connects your fridge to your home’s water source.
- How to Check: Carefully ease your refrigerator away from the wall. Look at the plastic tubing running from the wall to the bottom of your fridge.
- What to Look For: Check for any sharp bends, kinks, or twists that could be restricting water flow. Also, inspect the connection points for any signs of leaking water. A kinked line is a frequent cause of low water pressure or a complete stoppage.
Step 2: Examine the Water Filter – The Most Common Culprit
If it’s been more than six months since your last filter change, this is almost certainly the source of your problem.
- Locate the Filter: The filter is usually located in one of three places:
- Inside the refrigerator, at the top-right corner.
- In the front grille at the bottom of the fridge.
- Within the condenser coil area at the back.
- Inspect and Test: Turn off the water supply valve to the fridge. Remove the filter (this usually involves a simple twist and pull). Some refrigerators, like many Samsung and LG models, come with a bypass plug. If you have one, install it in place of the filter, turn the water back on, and try the dispenser. If water flows freely, you’ve confirmed a clogged filter is the problem.
Why a Clogged Filter Stops Water Flow: As a filter captures more sediment, its pores become blocked. This forces the refrigerator’s water pump to work harder. To prevent damage to the system, the refrigerator will eventually stop trying to pull water through a heavily clogged filter.
Step 3: Diagnose a Frozen Water Line
Is your dispenser making a humming or buzzing sound but no water is coming out? This is a classic symptom of a frozen water line.
- Check Your Freezer Temperature: Your freezer should be set to around -18°C. If it’s set much lower, it can freeze the water line that runs through it to the dispenser.
- How to Safely Thaw the Line: If you can see a frozen line inside the freezer compartment, you can use a hairdryer on its lowest heat setting to gently thaw the ice. Warning: Never use high heat, as it can damage the plastic tubing. Alternatively, you can unplug the fridge for a few hours to let it defrost naturally. If the problem reoccurs, a faulty thermostat may need professional assessment.
Step 4: Test the Dispenser’s Switches
- Dispenser Paddle (Actuator): When you press your glass against the dispenser paddle, you should hear a distinct “click.” This is the sound of the micro-switch activating. If there is no sound and the paddle feels loose or stiff, the switch itself may have failed.
- Door Switch/Sensor: As mentioned in the 60-second check, this is critical. If pressing the door switch doesn’t turn off the fridge light, the dispenser will not work. This component can wear out over time and is a common fix for our technicians.
Step 5: Understanding the Water Inlet Valve
The water inlet valve is an electronically controlled valve at the back of your fridge that opens and closes to allow water in from the supply line.
- What Goes Wrong: Over time, sediment can clog the valve, or its electronic solenoids can fail.
- How to Diagnose: While visual inspection might reveal a leak, diagnosing a failed solenoid requires a multimeter to test the electrical current. This is a task that should be left to a qualified technician from Perfect Appliance Repair, as it involves working with live electrical components.
Step 6: Considering Water Pressure and the Control Board
- Household Water Pressure: Refrigerators require a minimum amount of water pressure to operate the dispenser. If the water flow from your kitchen sink tap is weaker than usual, you may have a wider plumbing issue.
- Dispenser Control Board: If every other component seems to be working, the issue could lie with the dispenser’s electronic control board—its “brain.” A faulty board will not send the right signals to the valve or motor and requires professional diagnosis and replacement.
Quick Fix Summary & When to Call a Professional
| Symptom | Most Likely Cause | Simple DIY Fix | When to Call Perfect Appliance Repair |
| No water, no sound | Child lock on, faulty door/dispenser switch | Deactivate lock, test switches. | If switches are confirmed broken or unresponsive. |
| Humming sound, no water | Frozen water line, clogged filter, low water pressure | Check freezer temp, safely defrost, test filter with bypass. | If the line is inaccessible or repeatedly freezes, indicating a thermostat issue. |
| Slow or weak water flow | Clogged water filter, partially kinked supply line | Replace the filter, straighten the water supply line. | If a new filter and clear line don’t solve the issue. |
| Leaking from dispenser | Worn or damaged water inlet valve or seals | (Primarily a professional task) | Immediately. Water leaks can cause significant floor and cabinet damage. |
| Water tastes or smells bad | Old filter, bacteria in the water reservoir/lines | Replace the filter immediately. | For a full system flush and sanitization service to ensure water safety. |
Call the Experts at Perfect Appliance Repair
While many dispenser issues are simple fixes, tasks involving electrical components like valves, switches, and control boards should always be handled by a professional. Our licensed technicians are equipped with specialized tools like multimeters to safely diagnose the problem and have genuine replacement parts on hand for all major brands, including Westinghouse, Fisher & Paykel, Samsung, and LG.
Don’t risk further damage to your appliance or your home. For fast, reliable service across Australia, trust the experts.
Book a Repair Online with Perfect Appliance Repair or call us now at 0414 146 227 for immediate assistance.
How to Prevent Future Dispenser Problems
- Replace Your Water Filter Every 6 Months: This is the single most effective way to prevent clogs and ensure clean, fresh-tasting water.
- Clean the Dispenser Area Weekly: Use a soft cloth and a mild cleaning solution to wipe the dispenser paddle and drip tray to prevent mould and bacteria buildup.
- Ensure Adequate Space: Leave at least a few inches of space behind and around your refrigerator to prevent the water supply line from kinking and to ensure proper airflow for the cooling system.