Is your refrigerator water starting to taste musty or flow slower than usual? Over time, the internal water lines and external spout of your fridge’s dispenser can accumulate mineral deposits, bacteria, and even mold, affecting the taste, smell, and safety of your water. A thorough cleaning is the most effective way to restore fresh, clean water and ensure your appliance is hygienic for the whole family.
This guide provides a complete, step-by-step process for deep cleaning every part of your refrigerator’s water dispenser system, from the internal tubing to the external drip tray. We will cover everything you need to know to safely and effectively flush your system, remove stubborn buildup, and maintain its performance for months to come.
Essential Prep and Supplies
Proper preparation ensures a smooth and effective cleaning process. Before you start, it’s important to know how often this task is needed and to gather the right tools for the job.
How Often Should You Clean Your Water Dispenser?
For optimal freshness and hygiene, a deep clean of your refrigerator’s water dispenser is recommended once every three to six months. If you have hard water, which is high in mineral content, or if your dispenser sees heavy daily use, cleaning it every two to three months is ideal to prevent significant buildup. In addition, performing a quick wipe-down of the dispenser nozzle and drip tray weekly will help reduce the accumulation of dust and prevent minor clogs.
What You’ll Need: Assembling Your Toolkit
You likely already have everything you need for a professional-level clean. The key is using the right cleaning agents that are effective but safe for a food-contact surface.
Cleaning Agents
- Distilled White Vinegar: This is the best cleaner for the job. Its natural acidity is powerful enough to dissolve mineral deposits (limescale) and kill mold and bacteria without using harsh chemicals.
- Mild Dish Soap and Warm Water: Ideal for cleaning detachable external parts like the drip tray.
- Baking Soda (Optional): Can be mixed with water to create a gentle abrasive paste for scrubbing stubborn external stains.
Tools & Materials
- A small funnel
- A screwdriver
- A clean, soft-bristled toothbrush
- A soft cloth or sponge
- An empty bowl or measuring cup
- Protective gloves
- Flashlight (optional, to help locate the water line)
The 5-Step Deep Clean for Your Fridge’s Water Dispenser
This process will guide you through cleaning both the internal water lines and the external components for a comprehensive result.
⚠️ Safety First: A Crucial First Step
Before you do anything else, unplug the refrigerator from the wall outlet to prevent any electrical shock. Next, turn off the water supply to the fridge. The shut-off valve is typically a small valve located under the kitchen sink, in the basement directly below the kitchen, or at the top of the water heater. Turn the valve clockwise until it stops.
Step 1: Disconnect the Water Supply Line
Once the water is off, gently pull the refrigerator away from the wall to access its back panel. Locate the thin copper or plastic water tube that connects your home’s water supply to the fridge. Using a screwdriver, loosen the screw or unclip the fitting that holds the tubing in place.
Step 2: Clean the Internal Water Line with Vinegar
This step flushes the entire internal system where buildup occurs.
- Hold the disconnected end of the water tube upright. If helpful, use a piece of tape to secure it to the side of the refrigerator.
- Place the small funnel into the opening of the tube.
- Slowly pour two to three cups of distilled white vinegar into the funnel, allowing it to flow down into the refrigerator’s internal water reservoir.
- Let the vinegar sit in the system for at least five to ten minutes to break down mineral deposits and sanitize the lines.
- Place an empty bowl under the dispenser spout on the front of the refrigerator door. Press the dispenser lever or pad to run all of the vinegar through the system and into the bowl. Continue until the dispenser runs dry. Discard the used vinegar.
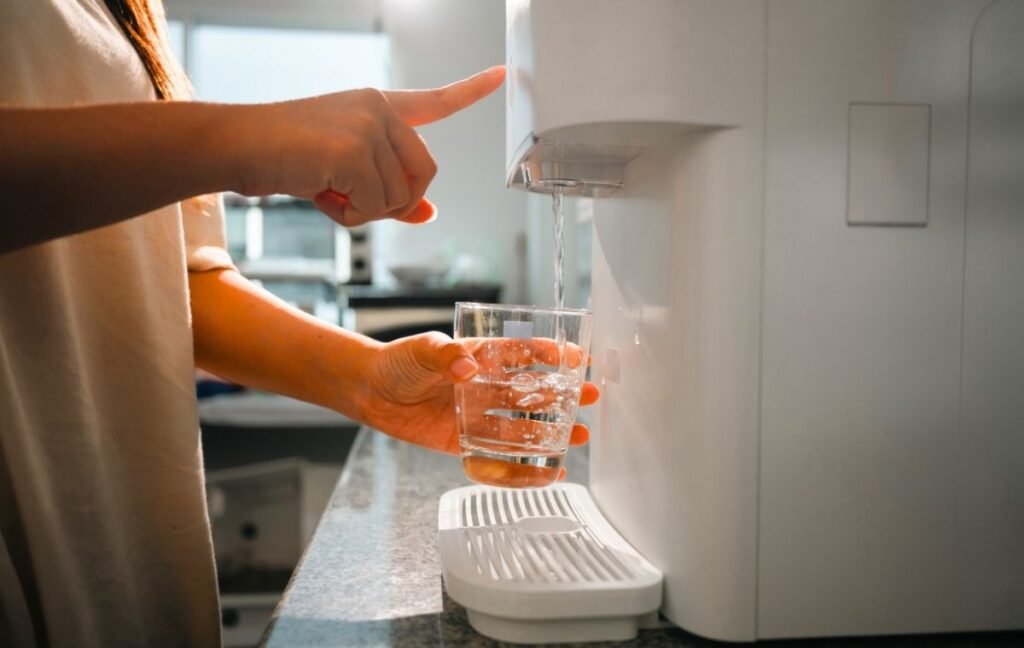
Step 3: Scrub the External Dispenser Components
While the vinegar works inside, clean the parts you see every day.
- The Nozzle and Pad: Dip your toothbrush into a small bowl of distilled white vinegar and gently scrub the dispenser nozzle and the area around the dispensing pad to remove any visible mineral buildup or grime.
- The Drip Tray/Spill Shelf: Most drip trays are removable. Lift the tray out and wash it in the sink with warm, soapy water. For stubborn mineral stains, soak the tray in a 50/50 solution of vinegar and water for about 30 minutes before scrubbing.
Pro Tip for Stainless Steel: If your dispenser has a stainless steel finish, do not scrub aggressively, as this can cause scratches. Instead, soak a paper towel in vinegar and plaster it onto the stained areas for 30 minutes to dissolve them. Afterward, wipe gently with a microfiber cloth in the direction of the metal’s grain.
Step 4: Flush, Rinse, and Reconnect
With the lines and components clean, it’s time to flush the system to remove the vinegar.
- Securely reconnect the water supply line to the back of the refrigerator, ensuring the fitting is tight.
- Turn the water valve back on by turning it counter-clockwise.
- Return to the front of the dispenser and, with your bowl ready, flush at least a quart (about four cups) of fresh water through the system. This will remove any lingering vinegar taste and smell.
- If your model has an ice maker, discard the first two or three batches of ice it produces.
Step 5: Reassemble and Final Wipe-Down
Ensure the drip tray is completely dry, then snap it back into place. Plug the refrigerator back into the wall outlet. Use a clean, soft cloth to give the entire dispenser area a final wipe-down.
Troubleshooting After You Clean
- My water still tastes bad. What now? If a thorough cleaning doesn’t resolve taste issues, the problem is almost certainly your water filter. Filters absorb contaminants and should be replaced every six months to remain effective.
- The dispenser is leaking after cleaning. The most common cause is a loose connection. Double-check that the water supply line at the back of the fridge is screwed on tightly and that the dispenser’s drip tray is properly seated.
- My water flow is still slow. While this cleaning removes most mineral buildup, a severe blockage may require a more forceful flush or professional service. Before calling for service, ensure your water filter is not clogged, as this is a common cause of slow flow.
Preventive Maintenance for Long-Lasting Freshness
- Replace Your Water Filter: This is the single most important step for maintaining fresh, clean water. Set a calendar reminder to replace it every six months. A high-quality filter prevents the mineral and bacterial buildup that necessitates deep cleaning.
- Quick Weekly Habits: Once a week, wipe down the dispenser nozzle and the drip tray with a cloth dampened with a little vinegar. This simple act prevents residue from building up over time.
Frequently Asked Questions (FAQ)
What is the best cleaner for a refrigerator water dispenser?
Distilled white vinegar is the best and safest cleaner. Its acidic properties effectively dissolve mineral buildup and kill mold without leaving behind harmful chemical residues that could be ingested.
Can a dirty fridge water dispenser make you sick?
Yes, potentially. The dark, moist environment of a dispenser line can become a breeding ground for bacteria and mold. Regularly cleaning the system helps ensure the water you are drinking is hygienic and safe.
Why are there black flecks in my water or ice?
Black flecks are often either mold growing inside the dispenser lines or harmless activated carbon particles escaping from an old or improperly installed water filter. In either case, it’s a clear sign that you should perform a deep clean and replace your water filter.
Can I use baking soda to clean my water dispenser?
Yes, but only for external parts. A paste made from baking soda and water is an excellent gentle abrasive for scrubbing stubborn stains off the drip tray and dispenser area. However, it should not be used to flush the internal water lines, as it can leave a gritty residue and is not as effective a sanitizer as vinegar.
Use Arrow Up and Arrow Down to select a turn, Enter to jump to it, and Escape to return to the chat.