Is your ice cream soft? Are you finding that your freezer just isn’t cold enough, or worse, that your fridge seems to be running non-stop? These are common and frustrating problems, but often, the culprit is a tiny, inexpensive component: the freezer thermistor.
Before you start worrying about a costly new appliance, you can perform a definitive diagnosis yourself. As Sydney’s trusted appliance repair experts, we at Perfect Appliance Repair believe in empowering our customers. This comprehensive guide will walk you through every step of diagnosing a faulty freezer thermistor, from identifying the first signs of trouble to performing a professional-level test.
What is a Freezer Thermistor and What Does It Do?
Think of the thermistor as your freezer’s nerve ending. It’s a small sensor whose sole job is to monitor the air temperature. Its technical name is a “Negative Temperature Coefficient” (NTC) thermistor, which is a fancy way of saying its electrical resistance changes predictably as the temperature changes.
This is the critical relationship at the heart of your appliance’s cooling system:
- The thermistor senses the air temperature.
- It translates that temperature into a specific electrical resistance signal.
- This signal is sent directly to the main control board (the fridge’s brain).
- The control board reads the signal and decides whether to turn the compressor and evaporator fan ON to generate more cold air, or OFF because the desired temperature has been reached.
It’s important to know that most modern refrigerators, especially models from brands like Fisher & Paykel, Westinghouse, Samsung, and LG, have at least two thermistors: one for the freezer air temperature and another, the defrost thermistor, clipped directly to the evaporator coils to manage the defrost cycle. A failure in either can cause significant problems.
The 5 Telltale Signs of a Failing Freezer Thermistor
If your freezer’s thermistor is faulty, it will send incorrect information to the control board. This can manifest in several ways. Here are the top five signs to watch out for.
1. Your Freezer is Too Warm or Inconsistent
This is the most obvious symptom. If the thermistor is faulty, it might incorrectly signal to the control board that the freezer is already at the correct temperature. As a result, the board doesn’t activate the compressor often enough, and the temperature slowly rises.
2. Your Refrigerator Won’t Stop Running
If you notice your fridge’s compressor is running constantly without cycling off, a bad thermistor is a likely cause. It is stuck sending a “it’s too warm in here” signal, forcing the compressor into endless, inefficient operation. This not only fails to cool properly but also significantly increases your electricity bill.
3. Excessive Frost Buildup on the Evaporator Coils
When you remove the back panel of your freezer, you’ll see a set of coils, known as the evaporator coils. A light layer of frost is normal, but a thick, snowy buildup indicates a defrost problem. This is often the fault of the defrost thermistor. It is failing to detect the ice, and therefore never tells the control board to start the defrost heater. Without the defrost cycle, ice builds up, chokes the airflow, and stops your freezer from cooling effectively.
4. The Freezer is a Block of Ice
The opposite can also happen. The thermistor may fail in a way that signals the freezer is always too warm, causing the control board to run the compressor excessively. This super-chills the compartment, turning all your food into frozen bricks and potentially causing frost on your groceries.
5. Error Codes on Your Digital Display
Many modern refrigerators from brands like Whirlpool and Samsung will display an error code when the control board detects an out-of-range signal from a thermistor. Check your owner’s manual to see if the code on your display corresponds to a thermistor fault.
The Ultimate Thermistor Test: Your Step-by-Step Guide
If you’ve identified any of the symptoms above, it’s time to test the thermistor. This process is straightforward and will give you a definitive answer.
SAFETY FIRST: Before you begin, always unplug your refrigerator from the wall socket to prevent any risk of electric shock.
Essential Tools You’ll Need:
- Digital Multimeter: This is non-negotiable. You’ll need one that can measure resistance in Ohms (Ω).
- Screwdriver/Socket Set: To remove the back panel inside the freezer.
- Bowl of ice water
- Towels to catch any melting frost or water.
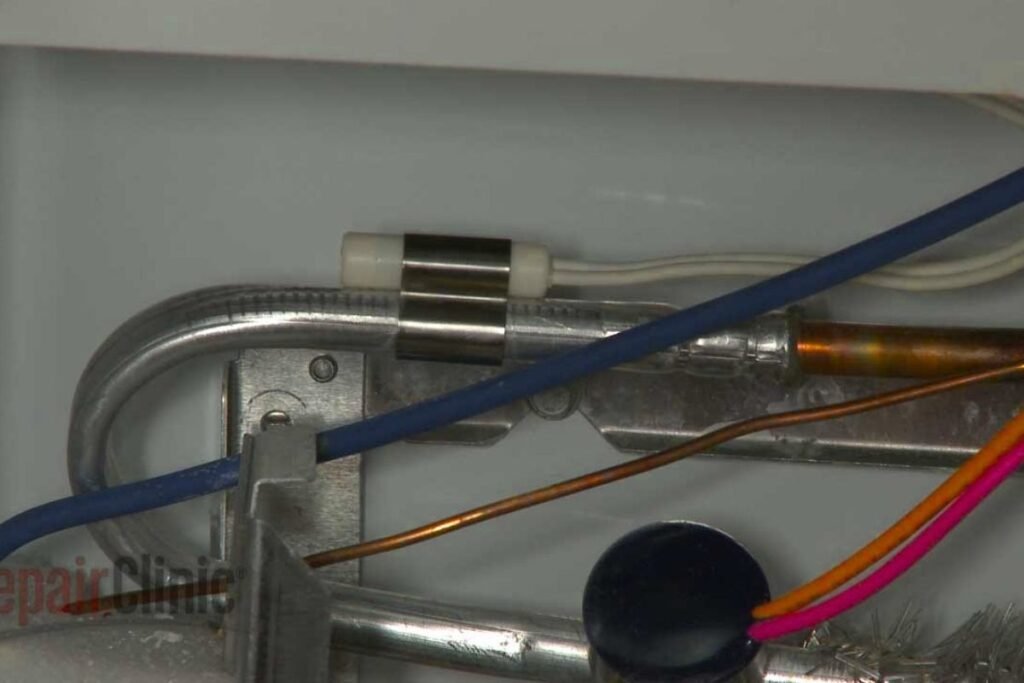
Step 1: Locating the Freezer Thermistor
You will need to remove the panel at the very back of the inside of your freezer compartment. Behind it, you will find the evaporator coils and fan. The thermistor is usually in one of two places:
- The defrost thermistor is almost always physically clipped onto one of the metal evaporator coil tubes.
- The air temperature thermistor is typically housed in a small plastic cap with vents, located near the top of the coil assembly. It will have two wires leading to it.
Step 2: Testing the Thermistor with a Multimeter
This test will confirm if the thermistor is responding to temperature changes correctly.
- Set Your Multimeter: Turn the dial on your multimeter to the Ohms (Ω) setting. A setting of 20kΩ is usually a good range to start with.
- Disconnect the Thermistor: Unplug the small wire connector that attaches the thermistor to the main wiring.
- Perform the Room Temperature Test: Touch the two probes of your multimeter to the two metal terminals on the thermistor’s connector. At room temperature (around 20-25°C), a functional thermistor will typically show a resistance between 7,000 and 40,000 Ohms (7kΩ – 40kΩ). The exact value isn’t critical yet; what matters is that you get a stable reading.
- Perform the Ice Water Test: Now, submerge the tip of the thermistor into the bowl of ice water for a few minutes to bring its temperature down to around 0°C.
- Check the Resistance Again: While it’s submerged, test the terminals again with your multimeter. Because this is a Negative Temperature Coefficient (NTC) thermistor, the resistance should be significantly HIGHER than the room temperature reading. For most models, it should be at least double.
Step 3: Interpreting the Results – Good vs. Bad
Use this chart to understand your multimeter readings and get a clear diagnosis.
| Multimeter Reading | Diagnosis | Next Step |
| “OL” or Infinite Resistance | Faulty. The thermistor’s internal circuit is broken. | Replace the thermistor. |
| Zero or near-zero Ohms | Faulty. The thermistor is shorted out. | Replace the thermistor. |
| Resistance doesn’t change between tests | Faulty. It is not reacting to temperature. | Replace the thermistor. |
| Resistance is stable and rises significantly in ice water | Good. The thermistor is likely functional. The problem lies elsewhere. | Continue to Advanced Troubleshooting. |
When It’s Not the Thermistor: Advanced Troubleshooting
If your thermistor tested good, you’ve successfully eliminated the most common culprit. This is where true expertise comes in. Here are the other possibilities our technicians at Perfect Appliance Repair investigate.
Mechanical Thermostats in Older Models
Some older or more basic refrigerator models don’t use an electronic thermistor. Instead, they use a mechanical thermostat with a long, thin capillary tube that senses temperature via gas pressure. These are also prone to failure but are tested for continuity rather than resistance.
The Real Culprit? Diagnosing a Sealed System Leak
This is a serious issue that often mimics a bad thermistor. If the refrigerant is low, the system can’t cool effectively.
- The Key Symptom: After running for several hours, look at the frost pattern on the evaporator coils. If you see a thick ball of frost only on the first few coils where the refrigerant enters, while the rest of the coils are bare or just cool, you likely have a sealed system leak.
- The Verdict: This is NOT a DIY fix. A sealed system repair requires licensed technicians with specialized equipment to handle refrigerants. Attempting this yourself is dangerous and illegal.
Thermistor Replaced, But Still Not Working?
If the thermistor is good and there’s no refrigerant leak, the final suspect is the main control board. The board may be receiving the correct signal from the thermistor but failing to act on it—meaning the relay that sends power to the compressor isn’t working. This also requires professional diagnosis.
When to DIY and When to Call the Pros at Perfect Appliance Repair
You can likely handle this yourself if:
Your multimeter test definitively proves the thermistor is faulty. Ordering and replacing a thermistor is a straightforward and affordable repair for a confident DIYer.
You should call the experts if:
- You diagnose a sealed system leak based on the frost pattern.
- The thermistor tests fine, pointing towards a more complex control board issue.
- You’re uncomfortable working with electrical components or disassembling your appliance.
Don’t risk causing more damage or wasting money on parts you don’t need. The licensed technicians at Perfect Appliance Repair service all major brands across the greater Sydney area. Book a service call today 0414 146 227 Or Book Online